Designing a small bathroom, especially in a tiny home, requires a different level of thoughtfulness. Every finish matters, every grout line counts, and every surface plays double duty. Tile, more than anything else, sets the tone for how the room feels: open or cramped, calm or busy, elevated or just… fine.
I’m currently selecting finishes for the tiny home bathroom I’m working on. Here’s my complete guide to choosing tile that looks good, performs well, and enhances a small space instead of overwhelming it.
1. Start by Mixing Tile Sizes (Don’t Use One Tile Everywhere)
Small bathrooms need visual balance.
If you use the same tile on the floors, walls, and shower, the room can feel flat and one-note.
Instead, mix one larger tile with one smaller tile to create interest without clutter. For example:
- 12×24 or 24×24 tile on the main floor
- Smaller 2×2, 3×3, or 4×4 in the shower pan
- A mid-size subway or square tile on the shower walls
This contrast keeps the design intentional and layered.
2. Avoid Clashing Styles
A small bathroom doesn’t have room for competing patterns.
You want variation, yes… but every tile should still relate to the others. Keep coordination in mind:
- Stay in the same color family
- Match undertones (warm vs cool)
- Keep finishes cohesive (all matte, all honed, etc.)
Think of the tile choices as a conversation, not an argument.
3. Use Tile Orientation to Your Advantage
Tile layout can visually stretch or widen a tiny space.
Try these tricks:
- Run rectangular floor tile with the length of the room to make it feel longer.
- Select vertical wall tile in the shower to draw the eye upward and add height.
- Use a diagonal layout if the room is very small and boxy—it breaks up the grid and expands the feel.
4. Consider Large Format Tile (Yes, Even in a Small Room)
Design myth: small bathrooms require small tiles.
Not true.
A larger tile means fewer grout lines, creating a smoother, less busy look. This is ideal for the main floor or even the main shower walls.
The only place you need small tiles is the shower floor—it handles slope better and provides grip.
5. Choose Your Grout With Intention
Grout completely changes the atmosphere of a small bathroom.
- Matching grout = seamless, clean, more spacious
- Contrasting grout = more pattern, more visual interruption
In a tiny home bathroom, I lean toward blended grout (same tone as the tile) for a calm and continuous feel.
6. Think About Light Reflectivity
Finish matters.
Glossy tile will reflect light and brighten the room.
Matte tile gives a softer, more modern feel. This is great for the moody, elevated look I gravitate toward.
In tiny bathrooms, a mix works well:
- Matte floor tile (safer underfoot)
- Glossy shower tile (helps bounce light)
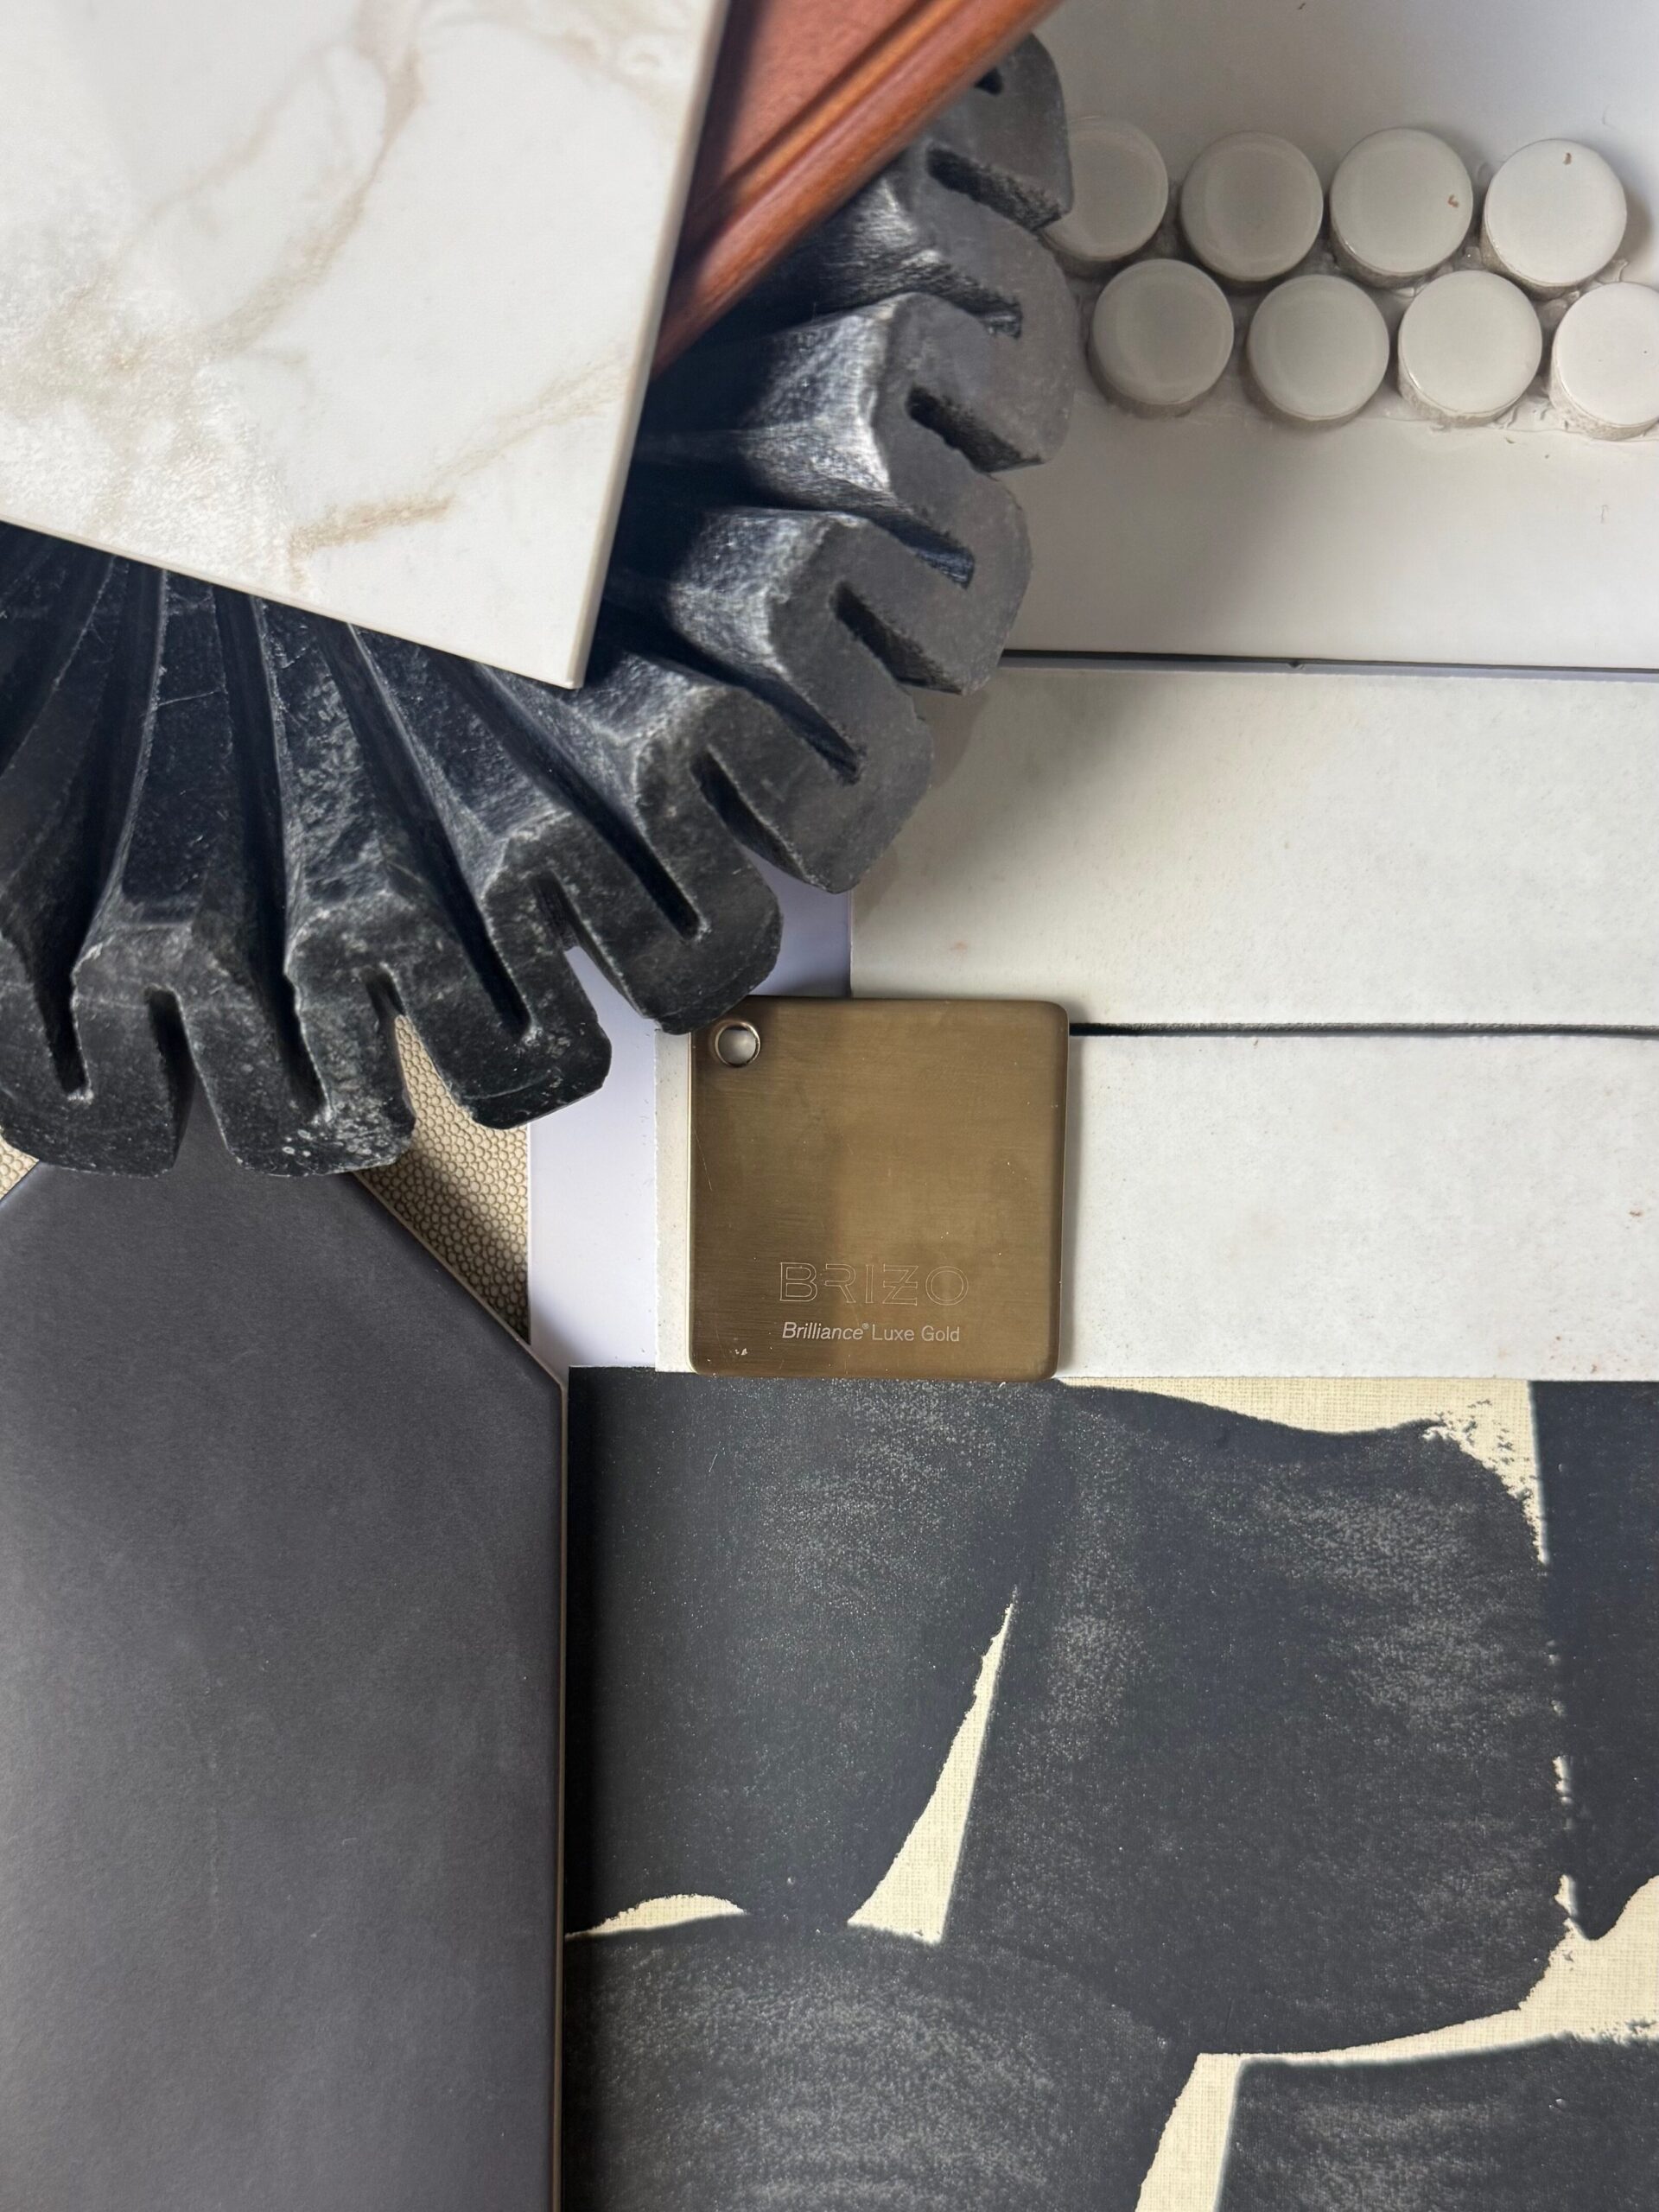
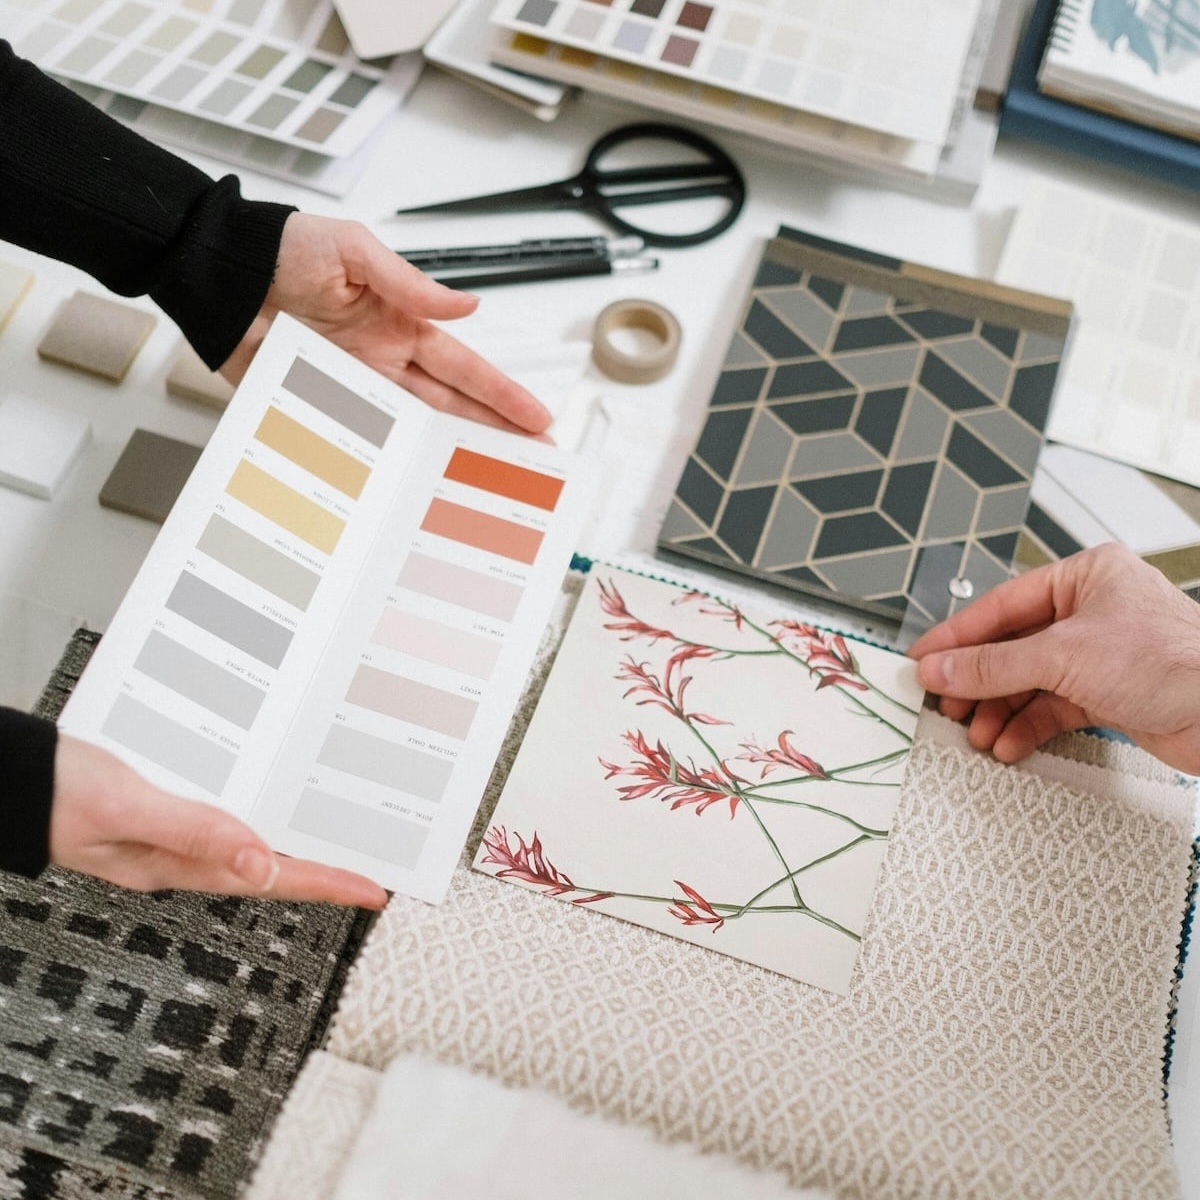
7. Order Samples and Build a Mini Mood Board
Lighting in a tiny home is unique: less natural light and more directional fixtures.
Tile colors shift dramatically depending on the surroundings.
Before committing:
- Order several samples
- Place them vertically and horizontally
- View them morning, afternoon, and evening
- Pair them with paint, vanity, and metal finishes
This step saves countless regrets later.
8. Practical Tips for Tiny Bathrooms
Because small footprints come with special considerations:
- Check slip resistance (especially for shower floors)
- Avoid very busy patterns, as they compress the space visually
- Choose one “moment” (niche, backsplash, or shower wall) rather than several
- Prepare for more cuts if using large tile
- Use a waterproof membrane to protect the structure
9. Consider Continuing the Same Flooring Into the Bathroom
One of the most effective design moves in a small home is to carry the same tile from the main living space straight into the bathroom.
Here’s why this works beautifully:
- It reduces visual breaks. Every flooring change causes the eye to stop. In a tiny home, this can make rooms feel smaller. Continuous flooring keeps the space open.
- It simplifies transitions. No thresholds or patchwork moments. Everything feels intentional and modern.
- It visually enlarges the footprint. A seamless floor plane makes the entire home read as one cohesive space.
- It supports aging-in-place. Fewer transitions = safer, easier to navigate, and more accessible.
If you choose this route, be sure the main floor tile is rated for wet areas, or select the same tile in a slip-resistant finish for the bathroom. You still get the same look with the appropriate safety considerations.
10. What I’m Considering for My Tiny Home Bathroom
Here’s the direction I’m leaning:
- A larger format tile (likely a 12×24) carried from the main living area directly into the bathroom for a seamless look
- A small mosaic or 4×4 on the shower floor for traction
- A vertical-stacked tile on the shower walls to draw the eye up
- Matching grout for a clean, understated finish
Warm neutrals, soft charcoal, and subtle texture, nothing too busy, everything intentional.
Small bathrooms require simplicity, cohesion, and clarity. The best tile designs for tight spaces use contrast in the right places and continuity everywhere else.
If you’re planning a small bathroom or a tiny home renovation, these ideas will help you create a room that feels beautiful, functional, and so much larger than it is.
Inquire with us to learn how we can help design a bathroom that feels just right.